Aug 31 , 2023
What Is The Best Way to Apply Nicotine Replacement Patch?
Taking that bold step towards a smoke-free life is like setting out on an exciting journey of self-discovery. Imagine having a trusty companion right by your side. That's where the nicotine transdermal patch comes into play. Together, we're geared up for success in your mission to bid farewell to smoking.
Let's Chat About Perfecting the Patch Application
Step 1: Prepare Your Skin
Cleanse: Wash the area of your skin where you'll be applying the nicotine patch before you do anything else. Use a mild soap and water to ensure the skin is clean and free from oils, lotions, or other substances.
Dry Thoroughly: Pat the skin dry with a clean towel. The skin must be dehydrated before you proceed to apply the patch. Moisture can hinder proper adhesion.
Step 2: Choose the Application Spot
Variety of Spots: Choose an appropriate spot for the patch application. Common areas include the upper arm, chest, back, or hip. Ensure the skin in the chosen area is free from cuts, rashes, or irritation.
Rotate Locations: Rotate the placement of the patch with each application to give your skin a break. This helps prevent skin irritation and maintains adequate adhesion.
Step 3: Apply the Patch
Ideal Timing: Apply the nicotine transdermal patch right after waking up in the morning. This timing ensures a consistent supply of nicotine throughout the day. Avoid applying it before bedtime, as it could potentially disrupt your sleep.
Peel and Stick: Gently peel off the protective backing from the patch, being careful not to touch the adhesive surface. Press the adhesive side firmly onto the chosen spot.
Hold and Secure: Hold the patch in place for about 10-15 seconds to ensure proper adhesion. This step helps the patch stick securely to your skin.
Step 4: Ensure Comfort and Adherence
Smooth Edges: After applying the patch, run your fingers along the edges to ensure they are firmly stuck down. This prevents any lifting or peeling during the day.
Choose a location where the patch will not rub against tight clothes or be subjected to extreme movement, which might cause it to detach unexpectedly.
Step 5: Dispose of the Used Patch Properly
Peel Off Carefully: When it's time to remove the used patch, do so gently. Peel it off slowly to avoid irritating your skin.
Dispose Safely: Fold the used patch in half with the adhesive sides together and discard it in a proper disposal container. Avoid flushing it down the toilet.
Additional Tips:
Follow Recommendations: Follow the manufacturer's directions for the exact nicotine transdermal patch you're taking. They may offer further tips on usage and application.
Drink plenty of water to keep your skin moist and promote patch adhesion.
Avoid Irritants: Avoid putting the patch on places with wounds, burns, or skin disorders, since this may cause discomfort or irritation.
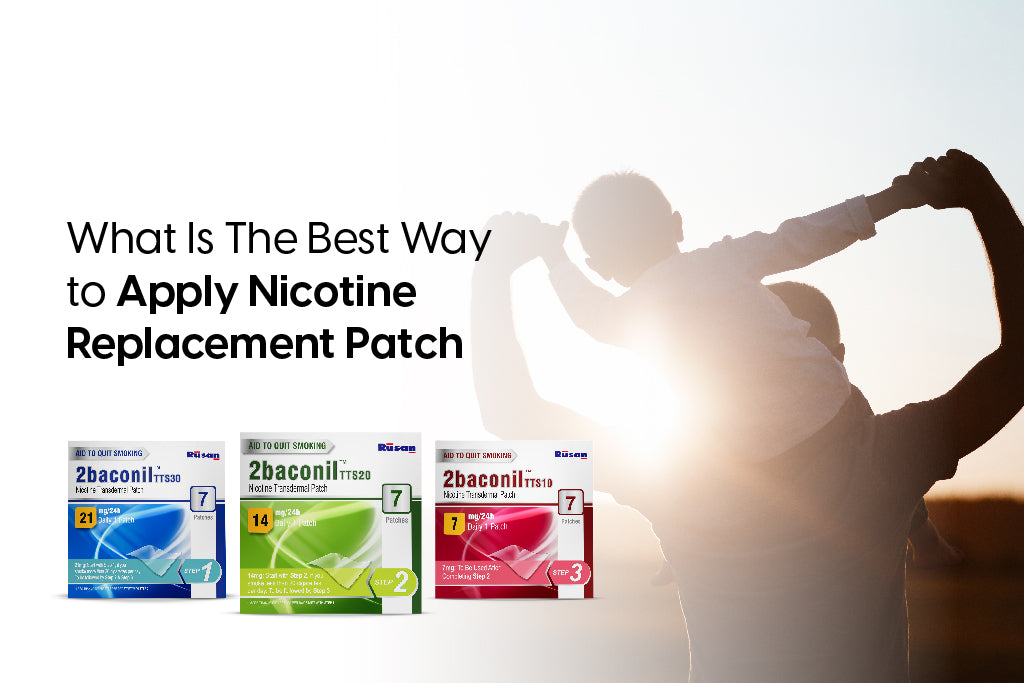
Consult a Professional: If you are unclear about the patch application method or have any concerns, seek the advice of a healthcare professional or a chemist. The nicotine transdermal patch comes in 2 variations, 14 mg & 21 mg. You can go with the ones best suitable for you according to your consultant.
By following these exact directions, you'll guarantee that your nicotine replacement patch adheres appropriately and gives you the assistance you need to stop smoking.
Here’s to you!
As you set forth on the path to breaking free from smoking, envision the incredible support of the 2baconil nicotine transdermal patch right beside you. Imagine them as your trusted companion, your eternal cheerleader, and your cozy security blanket – all in one. Every time you apply a patch, you're taking a step towards a brighter, smoke-free future.
Your journey holds its own unique story, and with your nicotine patch India partner, you're armed to conquer challenges and step into a renewed, healthier chapter of life. Here's to you – embracing your role as a triumphant, smoke-free champion with the unwavering support of 2baconil!
Read More Articles: